I picked up some mercury glass mini Easter eggs from Pottery Barn on clearance a while back and just ran across them (again) the other day . . .tucked away {I have a habit of tucking things away and forgetting about them — you too?}
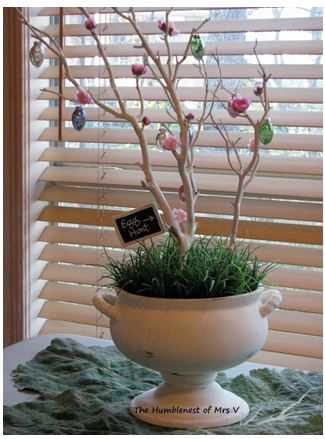
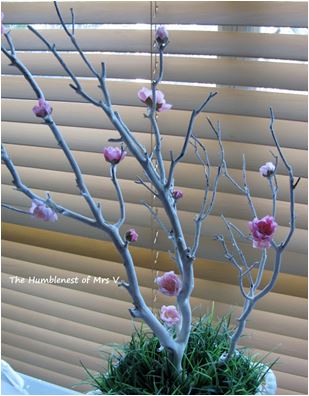
Realizing I didn’t have a way of displaying them I decided to create a little Easter tree centerpiece. I literally snagged a branch from the backyard and gave it a quick sanding, followed by a quick coat of Old White Annie Sloan Chalk Paint (I didn’t have any spray paint on hand, but that would of worked too).
I added the branch to a terra-cotta planter that I previously painted in Old White, as shown here, using some floral foam and a bit of hot glue.
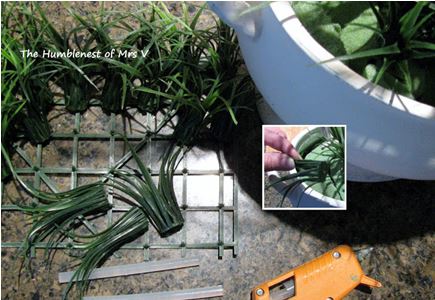
I decided to cover the floral foam with left-over artificial grass I bought at Hobby Lobby. I had used some of the grass previously in my sister’s brunch centerpiece.

It was easy to cover the foam with this grass. I just pulled it off the plastic frame and added a large dollop of hot glue to the flat base and held it on the foam for a few seconds . . . working around the branch until all the foam was covered.

To add a bit of Spring to my bare white branch, I pulled a few buds & blooms off a silk cherry blossom branch that had seen better days. {why yes, I do have a closet full of faux florals . . . why do you ask?} I used hot glue to add these blooms to my new Easter tree.
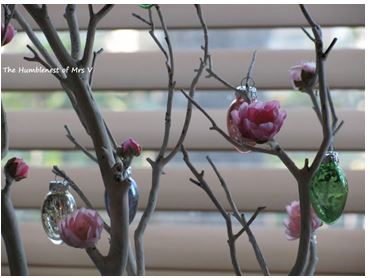
The mini eggs look dazzling on their new tree.
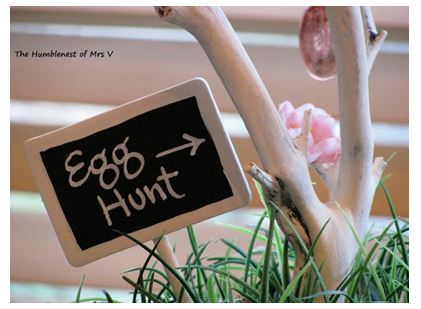
The Egg Hunt sign is a mini-chalkboard on a stick I recently bought from Pick Your Plum. I gave it a quick swipe with Old White Chalk Paint and used a chalk marker to write on it.
I am pretty happy with my little Easter tree —
so much so that I made two and added one to my booth space.
* * *
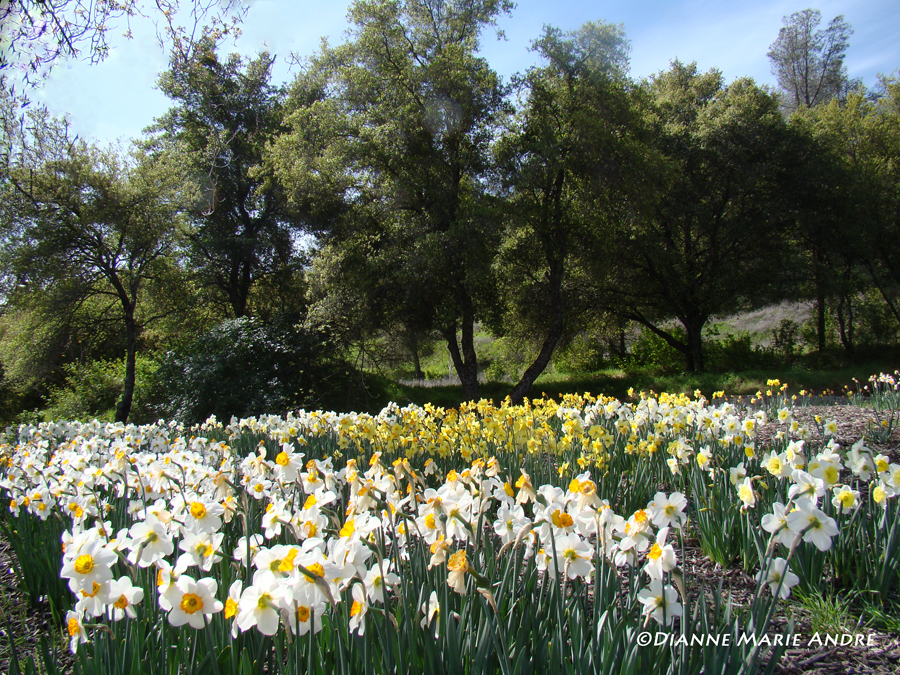
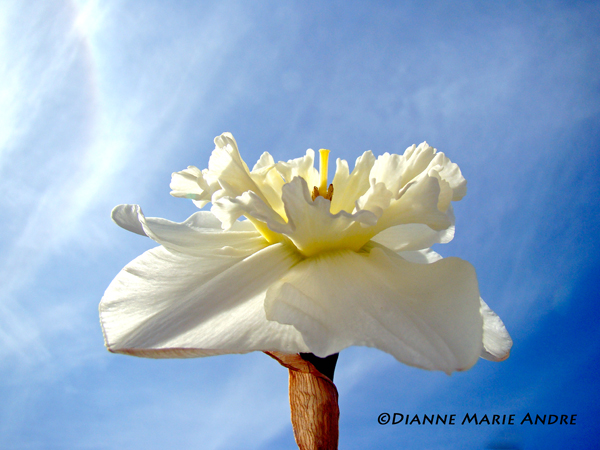
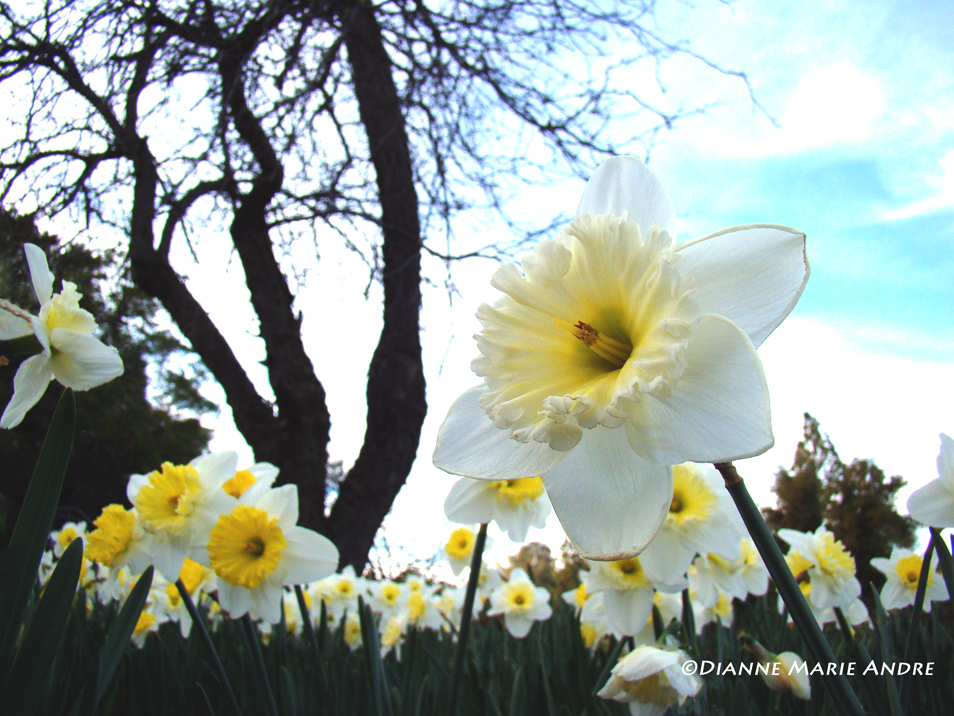
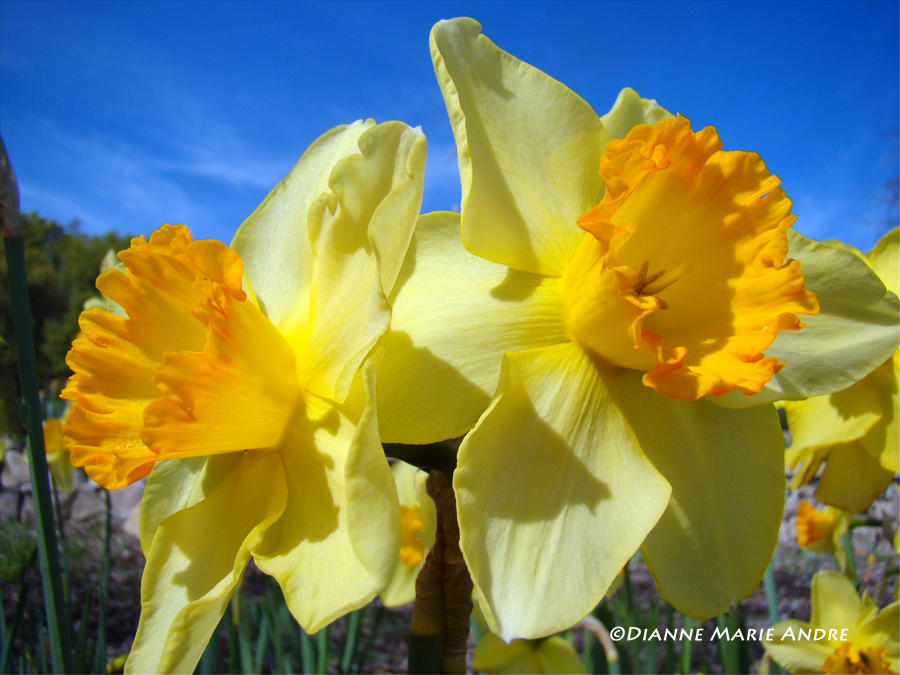
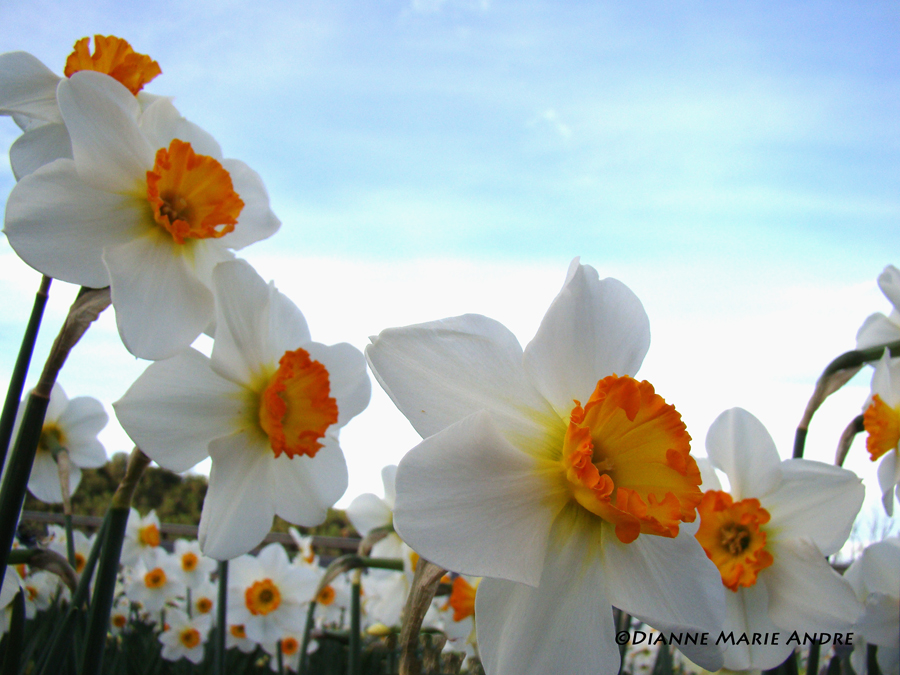
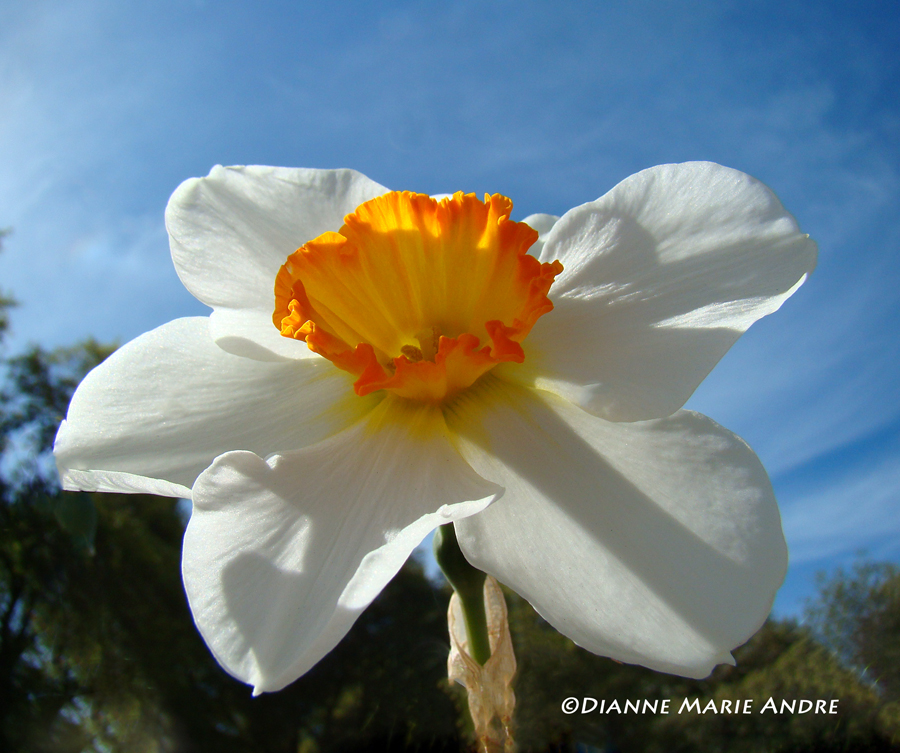
Note from Dianne: Thank you, Susie, for sharing. I think my gardening friends will love this. What fun it will be collecting and creating your centerpiece or at least a similar rendition. I enjoyed re-posting your how-to article and photos. Happy Easter everyone and God bless you and your loved ones.